Before you head out to visit a cemetery for some genealogy or family history seeking, be sure to read over Mom’s list.
Here’s a little sample chapter of one of the two books that will be on shelves this month written by “Moi.” Since the summer days are long, the weekends are right for road trips, and maybe you have the kids captive and can load them up with a little family history education–I thought this would be a good preview to share.
Kids love this stuff–right?
From the upcoming “The State of Boone,” companion to “Boone County” enjoy this little “How-To” for Visiting the Relatives…
My family tree has many branches, both living and dead… but all equally important. I cherish the memories that make its roots run deep.” (Lynda I Fisher)

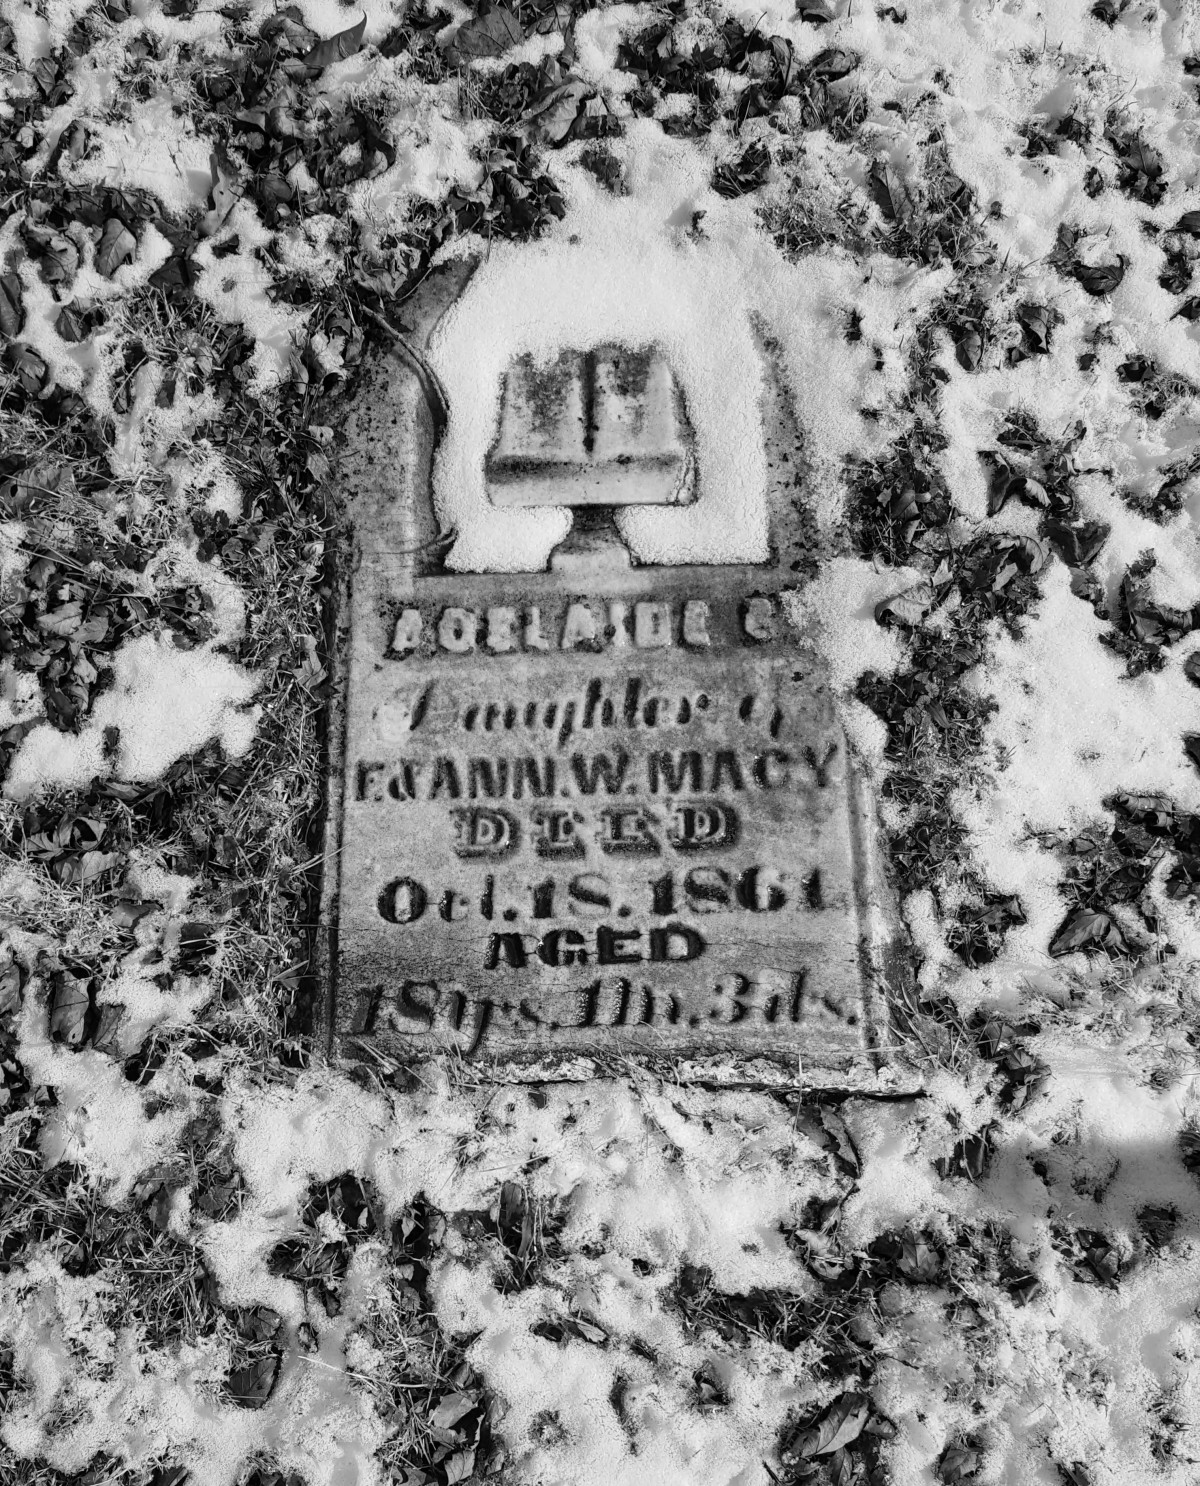
For me, visiting relatives usually means getting down and dirty. I think cemeteries are a tranquil, fascinating place. So many lives, so many stories untold–so much history we might otherwise miss! As a Family Historian, going relative hunting is one of my favorite adventures.
I’ve done this grave hunting thing all over the place. On vacations I’ve traipsed around above-ground crypts built inside below-sea-level cemeteries in the “Big Easy”– New Orleans. In old Louisville, I plopped down on the jutting-up exposed ends of vaults because it was the closest thing to a level spot around. Closer to home, I once spent a long snowy afternoon chatting with a gentle herd of cows while traversing acres of laid-over winter wheat. The cows were searching for leisurely snacks; I was seeking a lonely little plot.
There is little I love more than crisp autumn colors next to bleached-out marble. Except, maybe a majestic lawn of showy statuary at a big beautiful graveyard on a sunny day.
Nope, it doesn’t creep me out.
Yes, I guess that’s a little nutty.
The point is–I’ve done a lot of field-stalking for the graves of my forefathers, and I’ve learned some good tips and tricks. Sure there are lots more “do’s and don’ts” but this is my standard list of rules, go-to methods, and stuff to drag along.
Finding an old grave can be a challenge, but if you hang with it, you’re bound to make a discovery or two worth your while.
So here are my “rules” for visiting, and some handy-to-have stuff to take along. I hope you’ll take time to try some hunting yourself, and then let me know how it panned out for you and your kin!
RULES
- MANY cemeteries are on private property; especially the defunct ones. Some are even in people’s yards–very close to their house. Often, these properties are owned by seniors. No matter who lives there, be respectful.
- For visits on private property with no public right of way, drop a courtesy note in the mailbox of the occupant well in advance of your site visit. State your business, and ask for permission to come by at their convenience to take a look. Respect their wishes. Please describe your vehicle, ask before photographing, and give them all of your contact information.
- Do not stomp up next to someone’s home and start taking pictures of a little plot sectioned-off with some pretty iron fencing. Not cool.
- Take notes of your visits. Record the who, what, when, why, how and what I should do next time. Be sure to carry your notes at all times.
STUFF to TAKE — THINGS to DO
Here are my best tips for a successful trip to any cemetery for ancestor hunting. These can be especially important to heed if you’re setting off for a very old, defunct, or out-of-the-way location.
- Make a list of who you are looking for, and where they are buried ahead of time. You can use the spaces next to cemetery names in this book to jot down some notes, or make your own dedicated notebook. Most places (remember to check for additional names when more than one is noted) can be found with the mapping or GPS feature online at Find A Grave. This is a free site and a great resource when searching.
- Whenever possible, take a companion. This is good advice anytime you start an adventure.
- Also take along a bag with a large towel or heavy blanket, a flashlight, your notebook and pen, any emergency medications you might need (inhaler, nitro tablets, Epi-pen etc), a spray bottle filled with distilled water, a few old toothbrushes, some sturdy gloves, a small roll of aluminum foil, some kitchen shears heavy enough to cut through vines. Oh, and personally I do love a super sturdy trash bag to put between me and nature as I sit and kneel in the mud, bugs, and weedy grass.
- Always make a note of where your car is parked in your records during each trip (what entry point did you use?). No, I don’t think you’ll get lost, but it will be of use to you later when you are mapping sites and recording the position of certain graves.
- Never step out of your car without taking along a fully charged cellphone. In case of emergency–and lots of emergencies can happen–this simple tool can really save you!
- Have your camera on hand and ready. Carry spare batteries or be sure it is fully charged. If you will be using your cell phone’s camera, be sure you have it set for high performance with the automatic flash turned off. If you don’t know how to set up your phone to do its best picture taking, stop by a retailer and have a sales tech do it for you. Digital photos are the best tool for reading old stones.
- When possible, take a large stick with you. Though you may not have to fight back bears, you may stumble upon a snake or other critter. I’d rather shoo away a curious groundhog with a long stick than my camera bag any day! Also, uneven ground is a given–especially in the graveyards with the oldest interments. Count on them to be riddled with animal burrows, large roots, broken off stones and sunken spots. All of these can easily cause a fall or a broken bone. Use your stick as a “leading leg” to test the ground before you. Although it may seem awkward at first, one you get the hang of it, you’ll wonder how you ever hiked around without one.
- Be sure to keep your eyes and ears keen to your surroundings. Be on the look-out for feisty Hobos or thieves. Be sure to lock your car. Also, hornets, or ground bees, seem to adore living in old cemeteries. If you hear their hum, just steer clear of them and you will all have a better day.
- Wear a hat if you’d like, but be sure to remove it, or turn it backward before taking photos. The shade of the brim or bill can affect the automatic light level detection on today’s cameras and cause a lesser quality image.
- Long pants, boots or sturdy shoes, bug spray and long-sleeved shirts are a great defense against ticks and biting insects and poison ivy rashes.
- Once you’ve found who you’re looking for (especially in large graveyards) make yourself a little map. Remember how you noted where you left the car? Now is the time to use that. Photograph the grave marker so the name and shape are clear. Then, stand at the grave with your back to your parked vehicle (make a habit of beginning from this position). At eye level, take a photo. Make a quarter turn, and do the same. Keep going until you have an image of what you see in all four directions when you are standing graveside. Digital photography rocks! This 4-way-shot of the site will help lead you easily back to your ancestor next time.
- Visually inspect the stone/marker for signs of dangerous deterioration. Inspect each one closely before touching it. Watch for chipping, cracks, breaks, previous repairs, crumbling, or any open grainy or sandy looking spots. Be warned that even the thinnest upright markers can be very heavy and cause some serious damage if they “snap” while you’re nicely wiping moss away. Safety first!
- If you encounter old, very faded stones that are not quite legible, then a companion’s extra set of hands will come in really handy. Using the blanket or large towel to shade the tombstone, prop your flashlight onto the bottom edge of the grave-marker. Without a flash, take a close photo while under the shade of the cloth. Then try shining the flashlight downward on the faint markings (while still keeping it and the camera shaded from sunlight). The results may not be immediately apparent, but at home with some simple editing features found on most cameras and phones, you might be amazed.
- Do check (and photograph) the sides, back and top edge of each stone as well as the front. Often you will find a little surprise like a fraternal emblem or an ornamental symbol carved in the stone. Compare any findings like these to the exhaustive list available on the AGS website (address below). These may lead you to a previously unsuspected clue about your relative’s “earthly” interests.
- If the surface is obscured by weeds or dirt, cut away the vegetation with your kitchen shears. Mud and dirt deposits, along with any grass overgrowth on flat stones should be peeled off by hand (use the gloves if you’d like). Lichens and moss often plague markers in shady areas. Use a dry toothbrush to scrub them away. If you need a little something more, spray the area with water and allow it to soften the crud before wiping it away with a towel or toothbrush.
- Spritzing the face of a stone with water is another trick for reading barely-there etching. Be sure to try photographing the tough to read ones both wet and dry.
- Occasionally, you can get a good result by laying aluminum foil (shiny side down works best) over the epitaph and lightly rubbing it to conform with your hands. Once you’ve done your best, photo the stone again while the foil is still in place, and then carefully set the sheet aside to reexamine at home.
- Think you have a great idea for how to clean/read/repair a gravestone? Check in with the AGS website first (the Association for Gravestone Studies). These folks know their stuff and are up-to-date on what does and does not cause harm to these precious relics. Find their fascinating, info-rich website at https://gravestonestudies.org/
- And, Indiana-Boone-Jones, if you think you’ve found a previously undocumented grave site, be sure to contact the county health department to inform them of your discovery.
You’ll probably make the papers!

Congrats on the books! Like you, I enjoy visiting cemeteries. They are are generally in beautiful, peaceful spots, and there are so many stories.
LikeLiked by 1 person
Thanks Sheryl–Me too! The older the better. They’re always so calming to me, and I always discover something while there♡
LikeLike
Great post. Just had my son and his kids visit their gggf’s grave during a cross country trip (from our home in WA to the East Coast). The cemetery was in NE and they were happy to include the detour to get some precious pictures for the family.
LikeLiked by 1 person
That is AWESOME!
LikeLike
Wow that’s comprehensive. I’m not sure the graveyards in the UK offer quite so many excitements.
LikeLiked by 1 person
Oh but they’re older and generally more interesting 😉
LikeLiked by 1 person
Oh the fun of exploring old and even newer cemeteries. I have at one time or an other been in need of your good advice.
LikeLiked by 1 person
Start packing up a bag, fall is just around the corner and always my favorite time to do some relative searching 😊
LikeLike
Here in the UK we take children to graveyards getting them to do ‘grave rubbing’ placing paper over the details and rubbing with a crayon to ‘lift’ the details. A good way to keep for later use, similar to your silver foil idea. I understand that in some U.S. States our form ‘rubbing’ is illegal!
LikeLiked by 1 person
Yep, that rubbing (which is fantastic and fun to do) is highly frowned upon these days…
My entire girl scout troop went to an old cemetery for a field trip to find and take rubbings of the fanciest stones we could find. Now–you’d either be in big trouble or scowled at sternly by nearby visitors 😊
LikeLiked by 1 person
That’s so interesting. It totally accepted here and when done respectfully – it’s encouraged!
LikeLiked by 1 person
Great post
LikeLiked by 1 person
Thanks Rose! I think every one of these tips has resulted from a bad experience I’ve had. Haha–some of us just need to learn the hard way
LikeLiked by 1 person